Add a scope to the cost sheet
Add a scope, give it cost codes and a description, and price its rows.
On a computer · 5 steps · Updated
Video transcript
- 0:00From an empty cost sheet to priced scopes, using your own templates.
- 0:07Job 2025, Elwood Esplanade Apartments. Its estimate starts empty.
- 0:14Click the scope's name and call it Facade, Mondoclad.
- 0:19Click its quantity and type six hundred and forty square metres.
- 0:24The pencil opens the scope's details. Click Choose template.
- 0:30Your template library opens. Pick Mondoclad, then Use.
- 0:36It shows what comes in, cost code by cost code. Load rows.
- 0:42Every rate and formula is in. Each little f follows the scope's quantity.
- 0:47Under Description, the clipboard opens your description templates.
- 0:52Pick Mondoclad. The wording drops in, just as the quotation prints it.
- 0:58Fold the facade away with its arrow, then click plus Add for the next scope.
- 1:09Name it Entry canopy, thirty-six square metres.
- 1:17Open its details, choose template, and pick Vitradual.
- 1:23Use it, and load its rows, the same as before.
- 1:29Or type the description yourself. One line for each bullet.
- 1:38Two scopes, priced. The job's totals sit along the bottom.
Steps
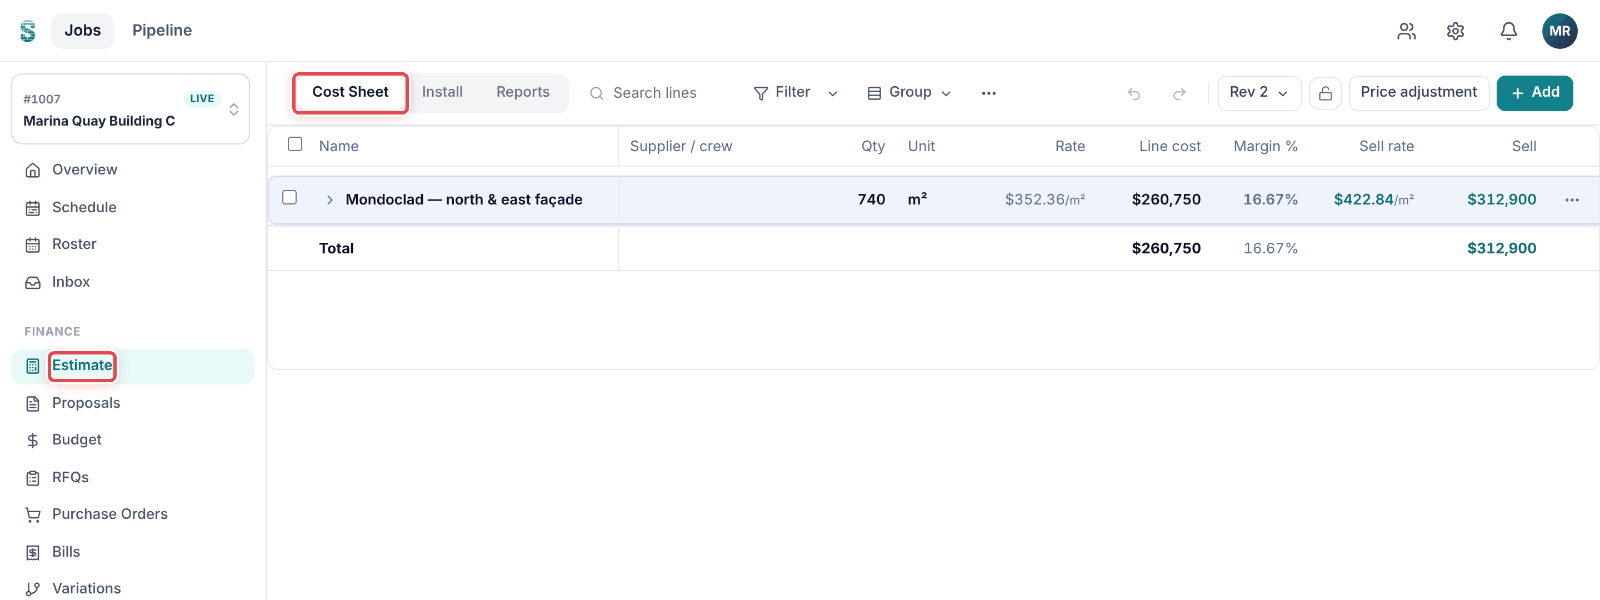
Step 1: Open a job, then go to Estimate. The Cost Sheet tab opens.
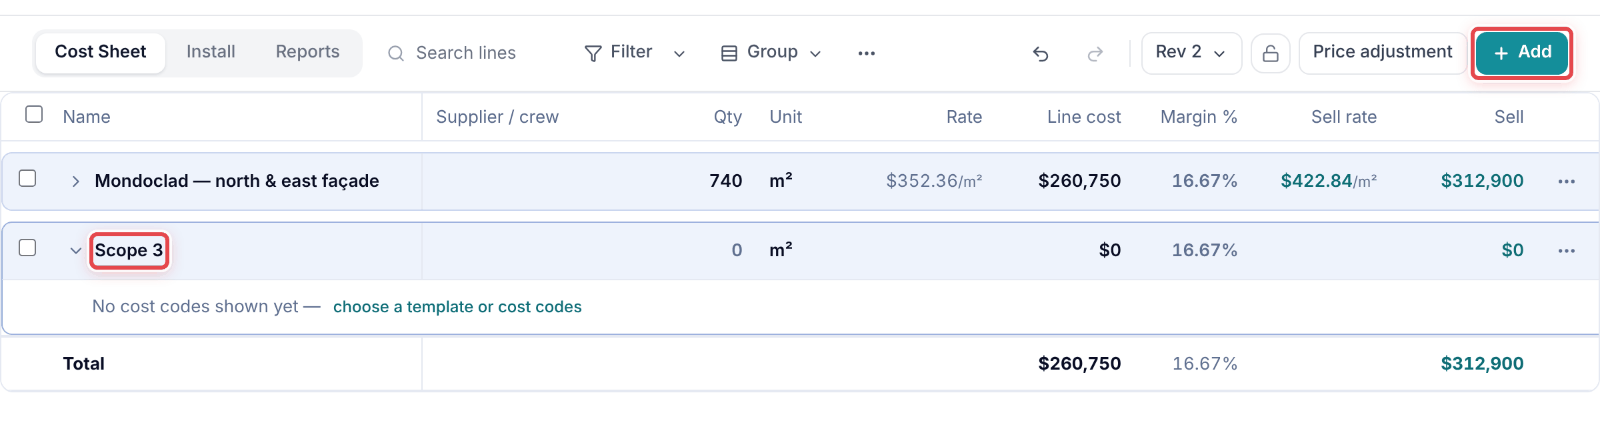
Step 2: Click Add at the top right. A new scope is added, named Scope 1, Scope 2 and so on.
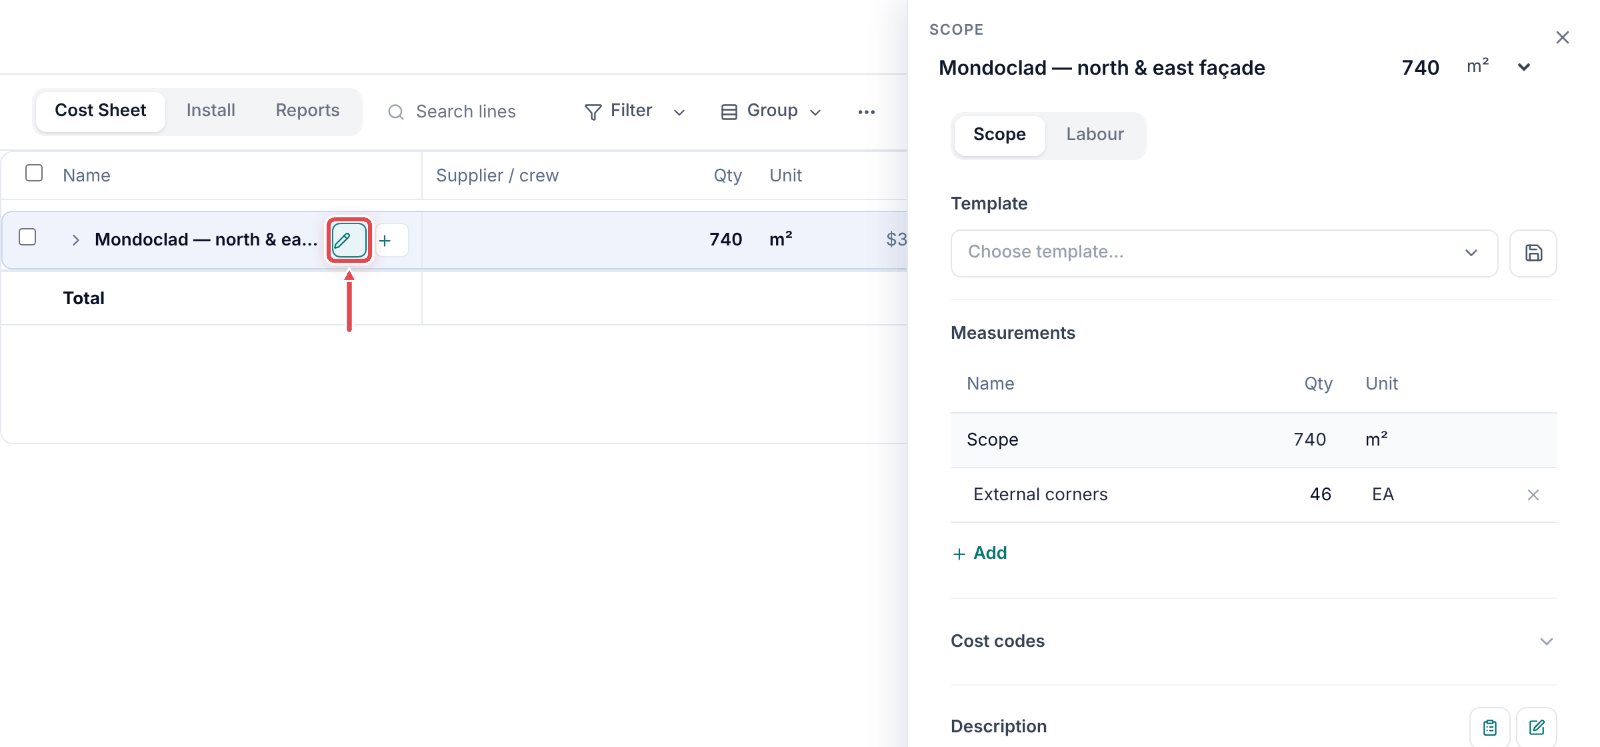
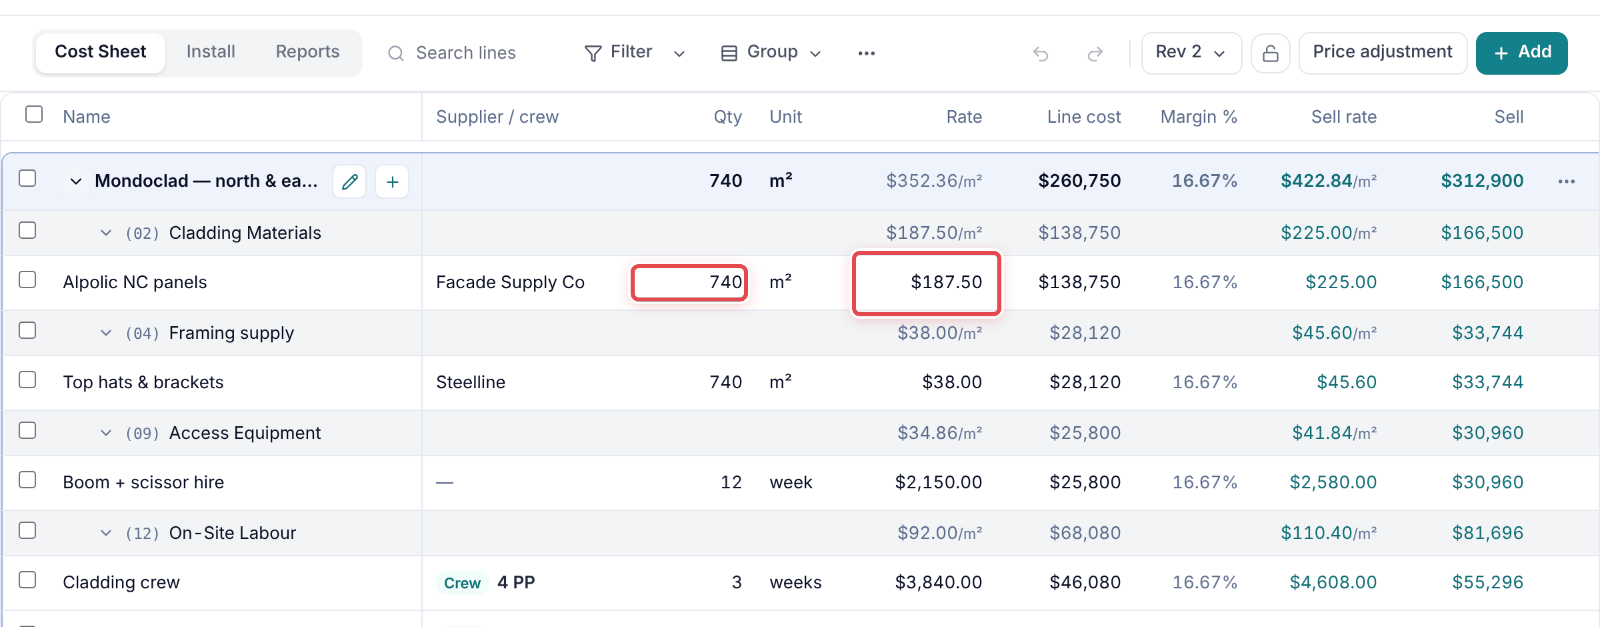
Step 3: Click the pencil beside the scope's name to open its details — name, description, template, measurements and cost codes.
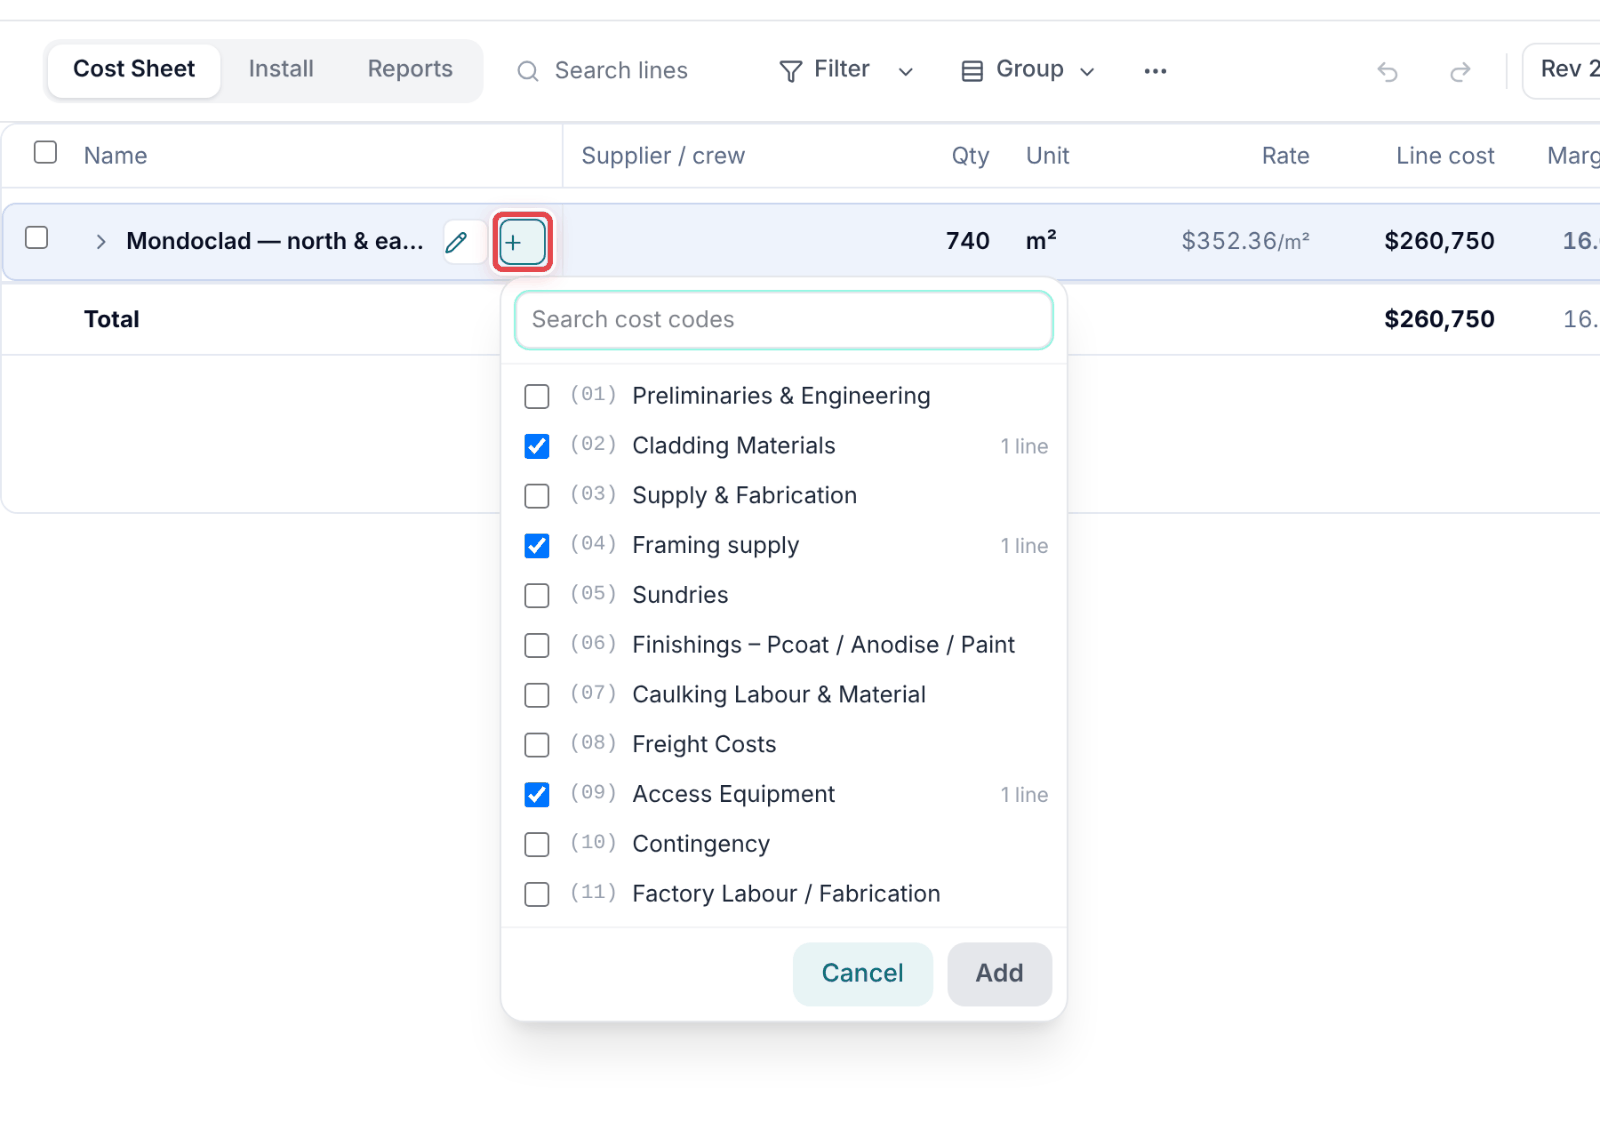
Step 4: Click + beside the scope's name to add cost codes to it. Search, and tick as many as you need.
Step 5: Fill in the quantities and rates on its rows. Every change saves by itself — there is no Save button.
Good to know
Note — The proposal shows each scope's description — write it in the scope's details (the pencil beside its name).
Tip — Undo in the header takes back the last change, one step at a time.